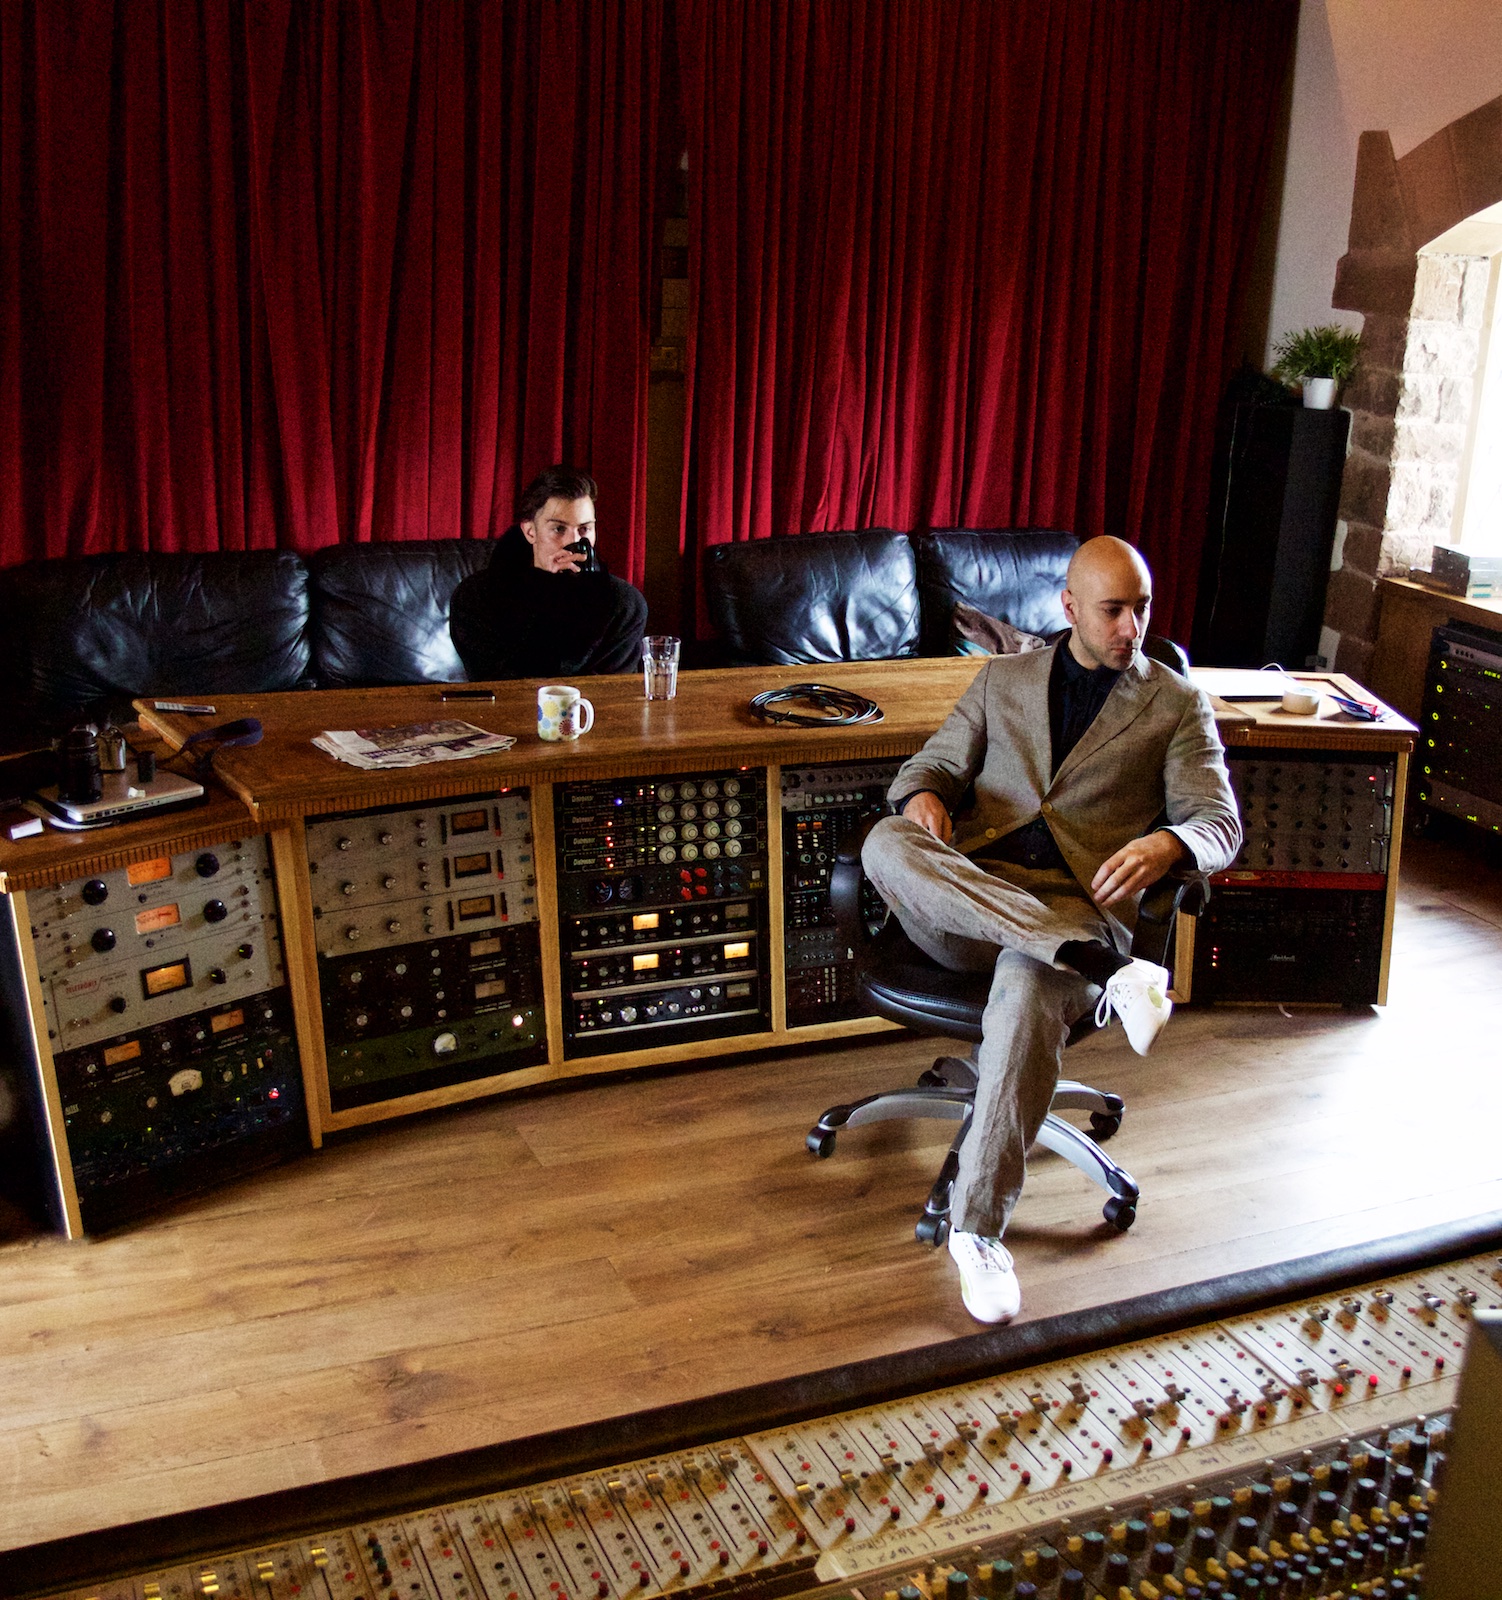
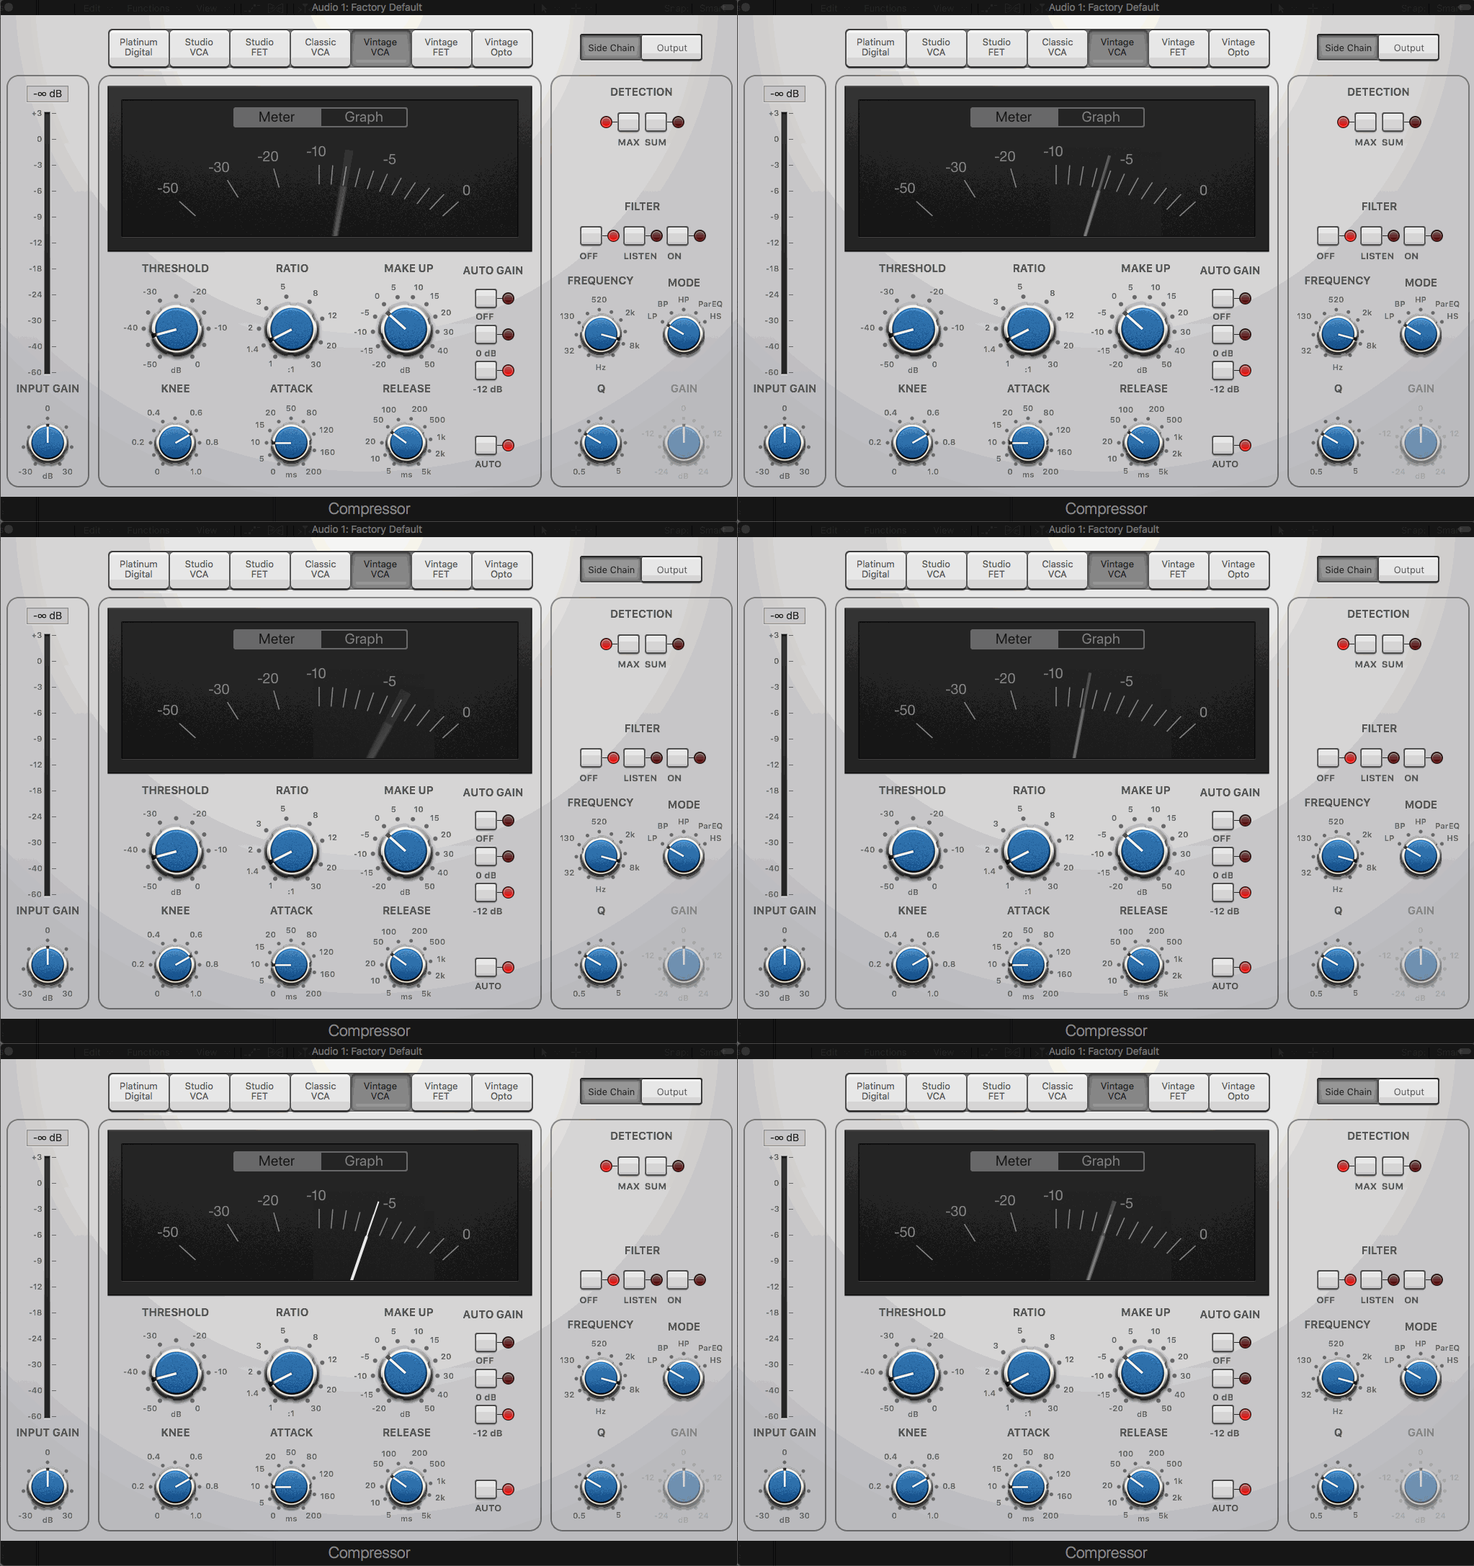
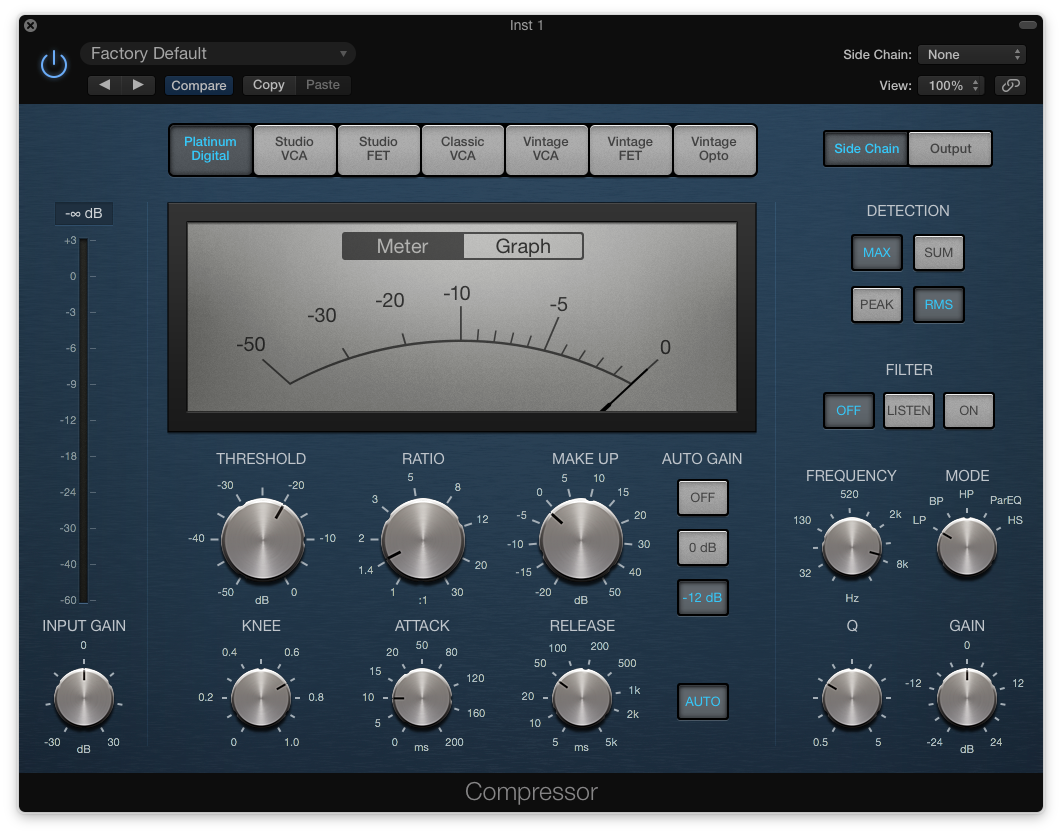
Continuing from Part I where we discussed the Threshold, Ratio, Attack, and Release, this post is mainly about the Knee. It's a bit of a weird one, really - it's not a setting on all compressors and people can get it confused with its relationship to the Attack time. We'll also look at Make Up Gain. To start, here is a nice picture of a compressor:
I changed the picture to the white SSL clone compressor in Logic X and made it into an animated gif because I was worried that simply posting factual information would be too bland for the general public to consume. Needed to make it more flash to attract the moths. The barracudas.
So what the hell is the Knee and how can it be 'hard' or soft'?? Let's discuss:
5. Knee: This is how quickly the compressor ramps up to the full compression ratio.
With a hard-knee compressor, the signal is completely unaffected until it goes over the Threshold; from the Threshold on up, the signal is compressed according to the Ratio, and the full amount of gain reduction is applied as fast as the Attack time will let it.
A soft-knee means that the compressor will slowly ramp up the compression Ratio as the signal approaches the Threshold. Another way to think of it is that the Threshold is ‘spread out’ over a wide range and it gradually compresses more and more as the signal gets ‘hotter’. With a soft-knee compressor, once the signal passes the Threshold, the full Ratio that you set is applied, but because some compression is applied to signal as it's approaching the Threshold, the transition from no gain reduction to full gain reduction is smoother. The result is more transparent, less obvious compression (so, it can also seem harder to tell when the compressor is engaged and when it isn’t).
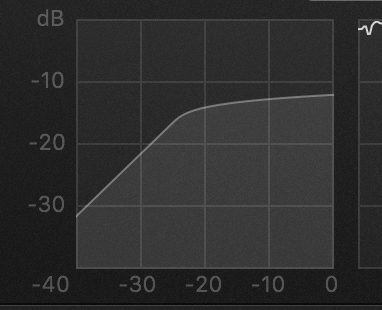
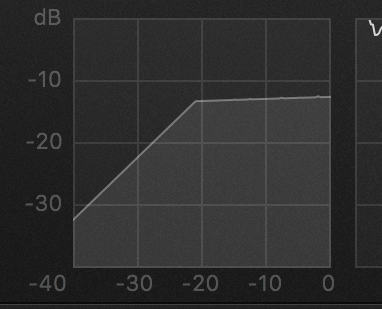
Check out the animation up on the right. This picture shows the settings on a compressor - the vertical axis represents the volume in dB - the horizontal axis represents the Threshold. On the horizontal axis, you can see that the threshold is set to around -21dB (so the compressor will kick in once the signal goes over -21dB). In one picture, there's a sharp fall off in gain, but on the other, there's a gentle curve, more of a transition. All that's happening here is that I'm changing the knee from hard (sharp transition), to soft knee, so there's a more gradual ramping up of the compression. You can see that in the 'soft knee' example, the curve actually starts before the threshold of 21dB, so you'll get some compression happening before -21dB on the meters! However, I didn't touch the Threshold setting when making this picture.
Some compressors give you the option of varying the Knee setting, and some don’t – in any case, experiment with what sounds good to your ears!
I find that a soft knee is nice on 'slower' instruments, so some bass, vocals, piano. Hard knee is great for things like drums or more percussive guitar, rap vox etc. But there are no results - I've used soft knee on drums and hard knee settings on vocals all the time. just mess with it a bit, see if you can hear a difference, and leave it where you think it sounds best. That's it.
A compressor I absolutely love is the DBX 160XT - this compressor doesn't give you any Attack and Release controls (partly why I love it - two less things to think about) but it DOES give you a 'hard knee' (the default) and a 'soft knee' setting (called 'Overeasy' mode) to give you a little control over how 'aggressive' the compression is. But does that mean that the a soft knee is the same as a slower attack? NAH MATE.
So how is the Knee different from the Attack Time?
Remember - the Knee has nothing to do with Attack or compressor timing (if the compressor’s Attack is set to 20ms, it will always be 20ms), the Knee has to do with varying the compression Ratio before the Threshold.
To illustrate, think of a compressor set with a 4:1 ratio, using a soft knee, with a threshold set to -10dB. So, when the signal reaches a level of -10dB, the compressor will be operating at a ratio of 4:1. But before the signal gets to -10dB, the Ratio will slowly increase. So, the compressor may behave something like this:
• When the audio signal's at -14dB, the compression ratio is 2:1
• When the audio signal's at -12dB, the compression ratio is 3:1
• When the audio signal's at -10dB or higher, the compression ratio is 4:1
At -10dB or higher, the full compression Ratio is applied. Of course, in reality, the Ratio wouldn’t jump up in such large amounts, but would be a gradual ramping up to 4:1.
If a hard-knee compressor were being used, there simply wouldn’t be any compression occurring at all until the audio had gone over the Threshold. With the soft-knee enabled, the compressor starts compressing as the signal approaches the Threshold.
So whatever the Knee setting or the current compression Ratio, the compression is still applied after how however long the attack time is set to!
Next up - once you've compressed the signal, it's really quiet. How do you get it back up to the volume it was at? Simple...
6. Make Up Gain: This is used to ‘make up’ the volume of the audio after the peaks have been compressed. Be careful not to be fooled by volume – we always think louder is better. Make sure to always check the real difference that the compression makes by setting the make-up gain so that the peak volume of the audio stays the same when you bypass the compressor. Bypass the compressor and switch back and forth between the compressed and uncompressed audio and listen for the difference, and decide which you prefer. You might be surprised that you prefer the original signal!
Q: If I’m getting 8dB of Gain Reduction and I use 8dB of makeup gain, why doesn’t the output level always match the input level – why is the output louder?
If you’re compressing a signal with sharp transients, and attack time is greater than 0ms, you’re letting the peak transients through and then adding the compressed tail and make up gain on top of that! You can’t always simply add 8dB of make up gain if you’re getting 8dB of gain reduction. Just use your ears, and check the meters too.
If you have any questions at all about any of this, or want to inquire about me mixing/mastering some of your music - just shoot me a email! We can even do a Skype/FaceTime Lesson to talk about this stuff if you like, it's all good fun.
OK, until next time, where we'll look at Side-Chaining and Peak/RMS metering...
With love,
Ed 🎚🎛❤️
